1. Open Adobe Illustrator
2. Click New Document
3. At the top click "Web", then choose, under "BLANK DOCUMENT PRESETS", "Minimum", which has a pixel size of 1024 x 768. Click "Create".
4. Choose the "Line Segment Tool", which can be found on the left panel of the application, (hotkey "\") and click the top left corner of the document. Make sure when you hover over the corner the word "Intersect" appears.
5. In the Pop-Up menu which appears after you click the corner, for "Length" type "100 px", and for "Angle" input "0 degrees"and click "Ok".
6. Next, create a Vertical Line by clicking anywhere within the document. For "Length" type "210 px" and for "Angle" input "90 degrees". Click "Ok".
7. Next, we will move this line so the top of it meets the right-most side of the first line you created. Use the "Selection Tool", which is also found on the left panel of the application, (hotkey "V") to select the vertical line and move it with clicking-and-dragging with your mouse. To make sure the ends touch and meet, you may need to zoom into the area using "Command" + "+". You can also use the arrow keys on your keyboard to be very precise. These lines are to be used to make sure the position of your red box is exact. To zoom out you can use "Command" + "-". Use the "Hand Tool", which is found on the left panel of the application, (hotkey "H") to move your document if it falls too far out of the center of the screen.
8. Click the "Rectangle Tool", located on the same left panel, (hotkey "M") and create a rectangle in your document by clicking somewhere and dragging the box out. The size and shape doesn’t matter yet.
9. Once you do this, on the right of the application, under the "Properties" tab, change the dimensions of the box to the following: X: 292px, W: 390px, Y: 322px, H: 224px. Below that, click the box next to "Fill" and choose the red box, 5th from the left on the top row. Your box should now be red. Close that Pop-Up window by clicking outside of it, and click the box next to "Stroke", which is below "Fill". Choose the first box, which is white with a red slash cutting diagonally through it. This will remove any outlines of the box.
10. Now that the box has the correct dimensions and coloring, guide it to the right position by moving it in the same way you moved the second line (instruction 7) so that the top left corner of the box intersects with the bottom of the second line.
11. Use the "Selection Tool" and select the first line you made, click the delete button. Do the same with the second line you made.
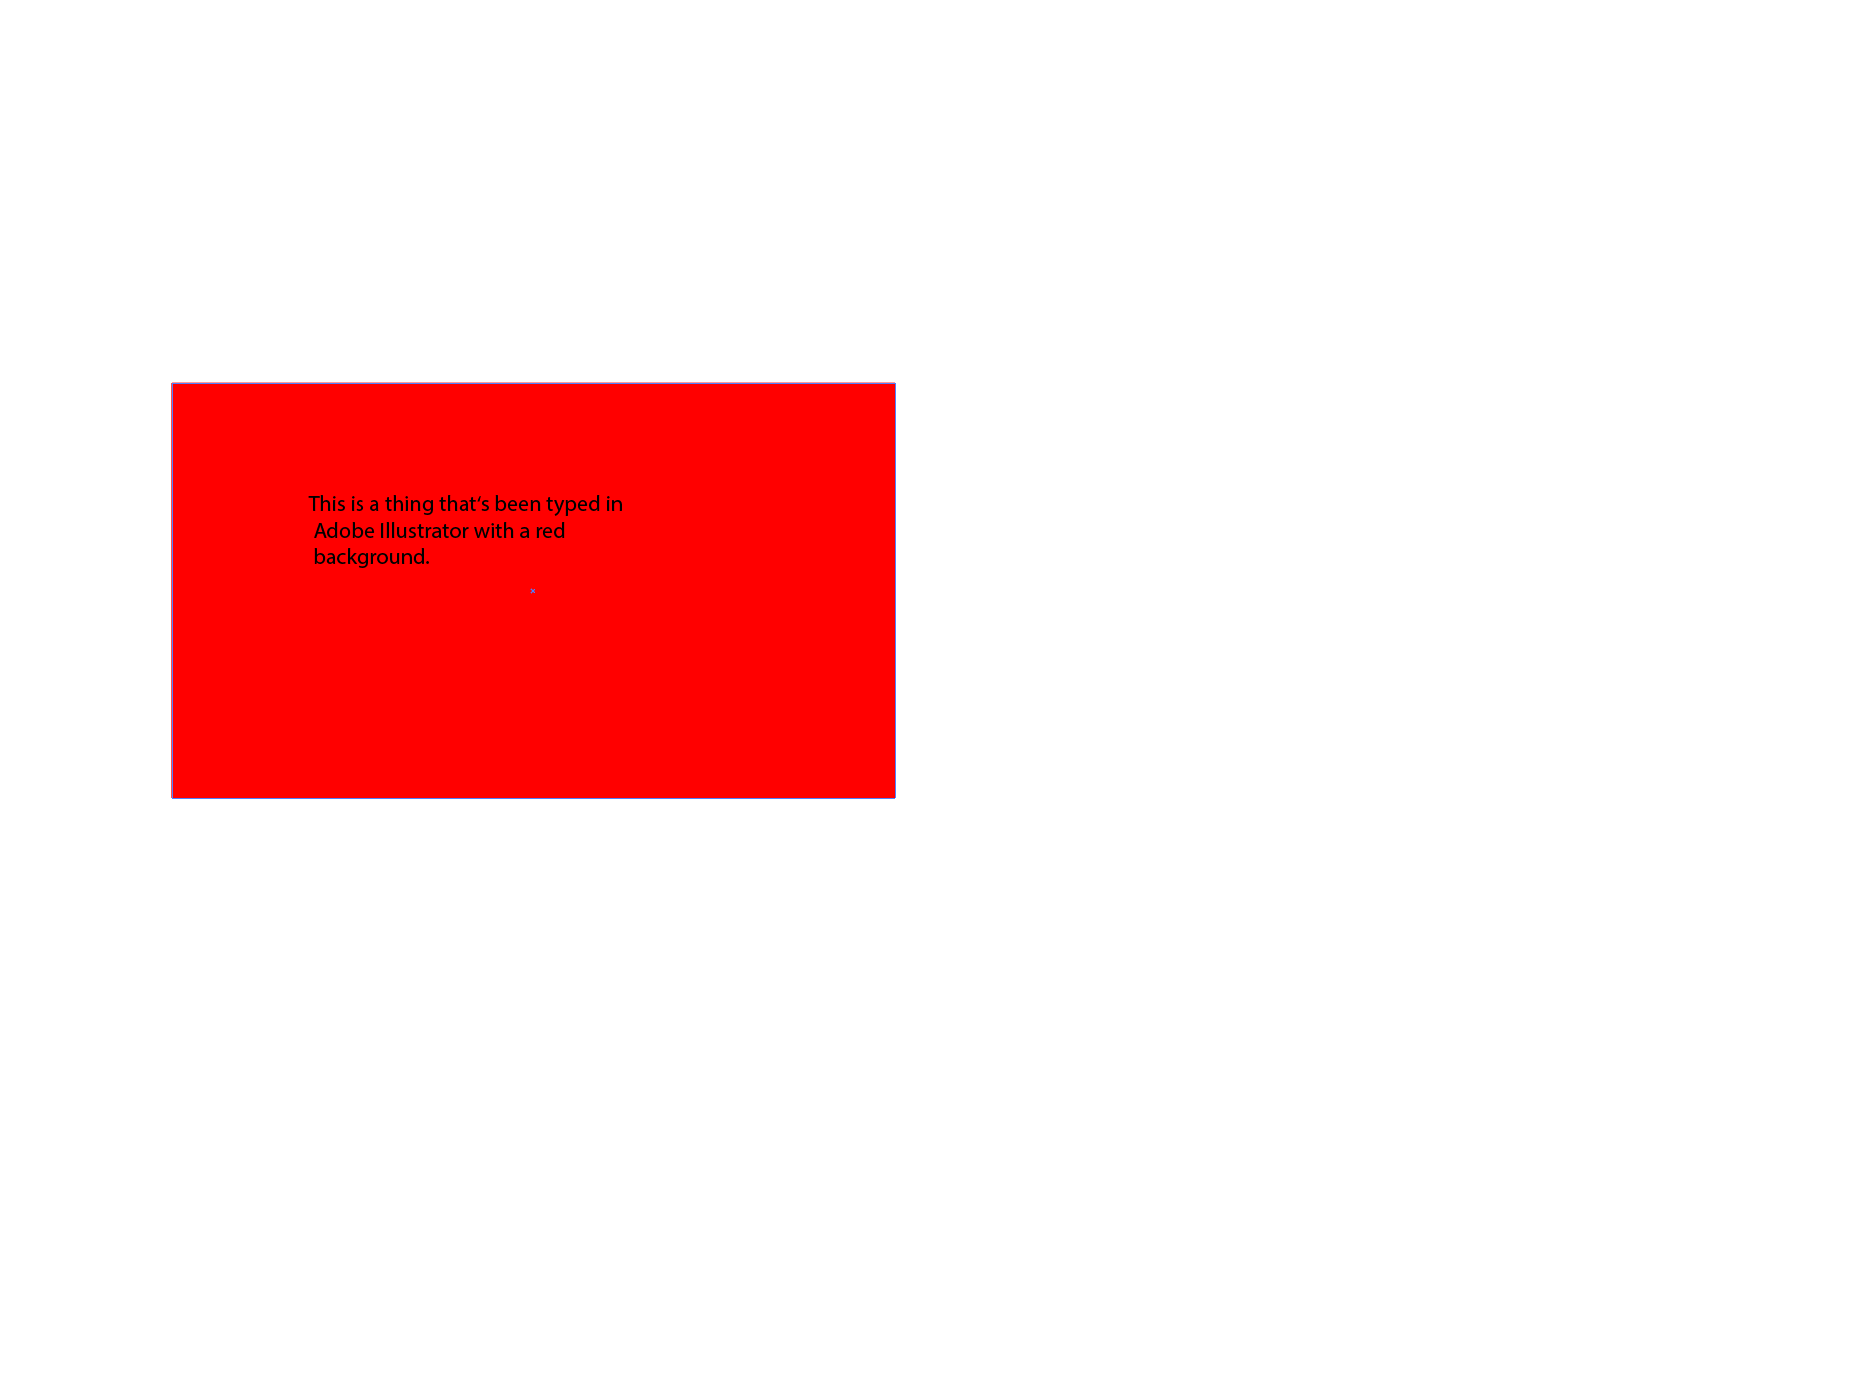
12. Click the "Type Tool" (hotkey "T") and hover to the middle of the box. When you’re there, the word "Center" will appear. Click it, and type, "This is a thing that‘s been typed in Adobe Illustrator with a red background." Click enter between "in" and "Adobe", and click enter between "red" and "background" to ensure everything fits within the box.
My Original

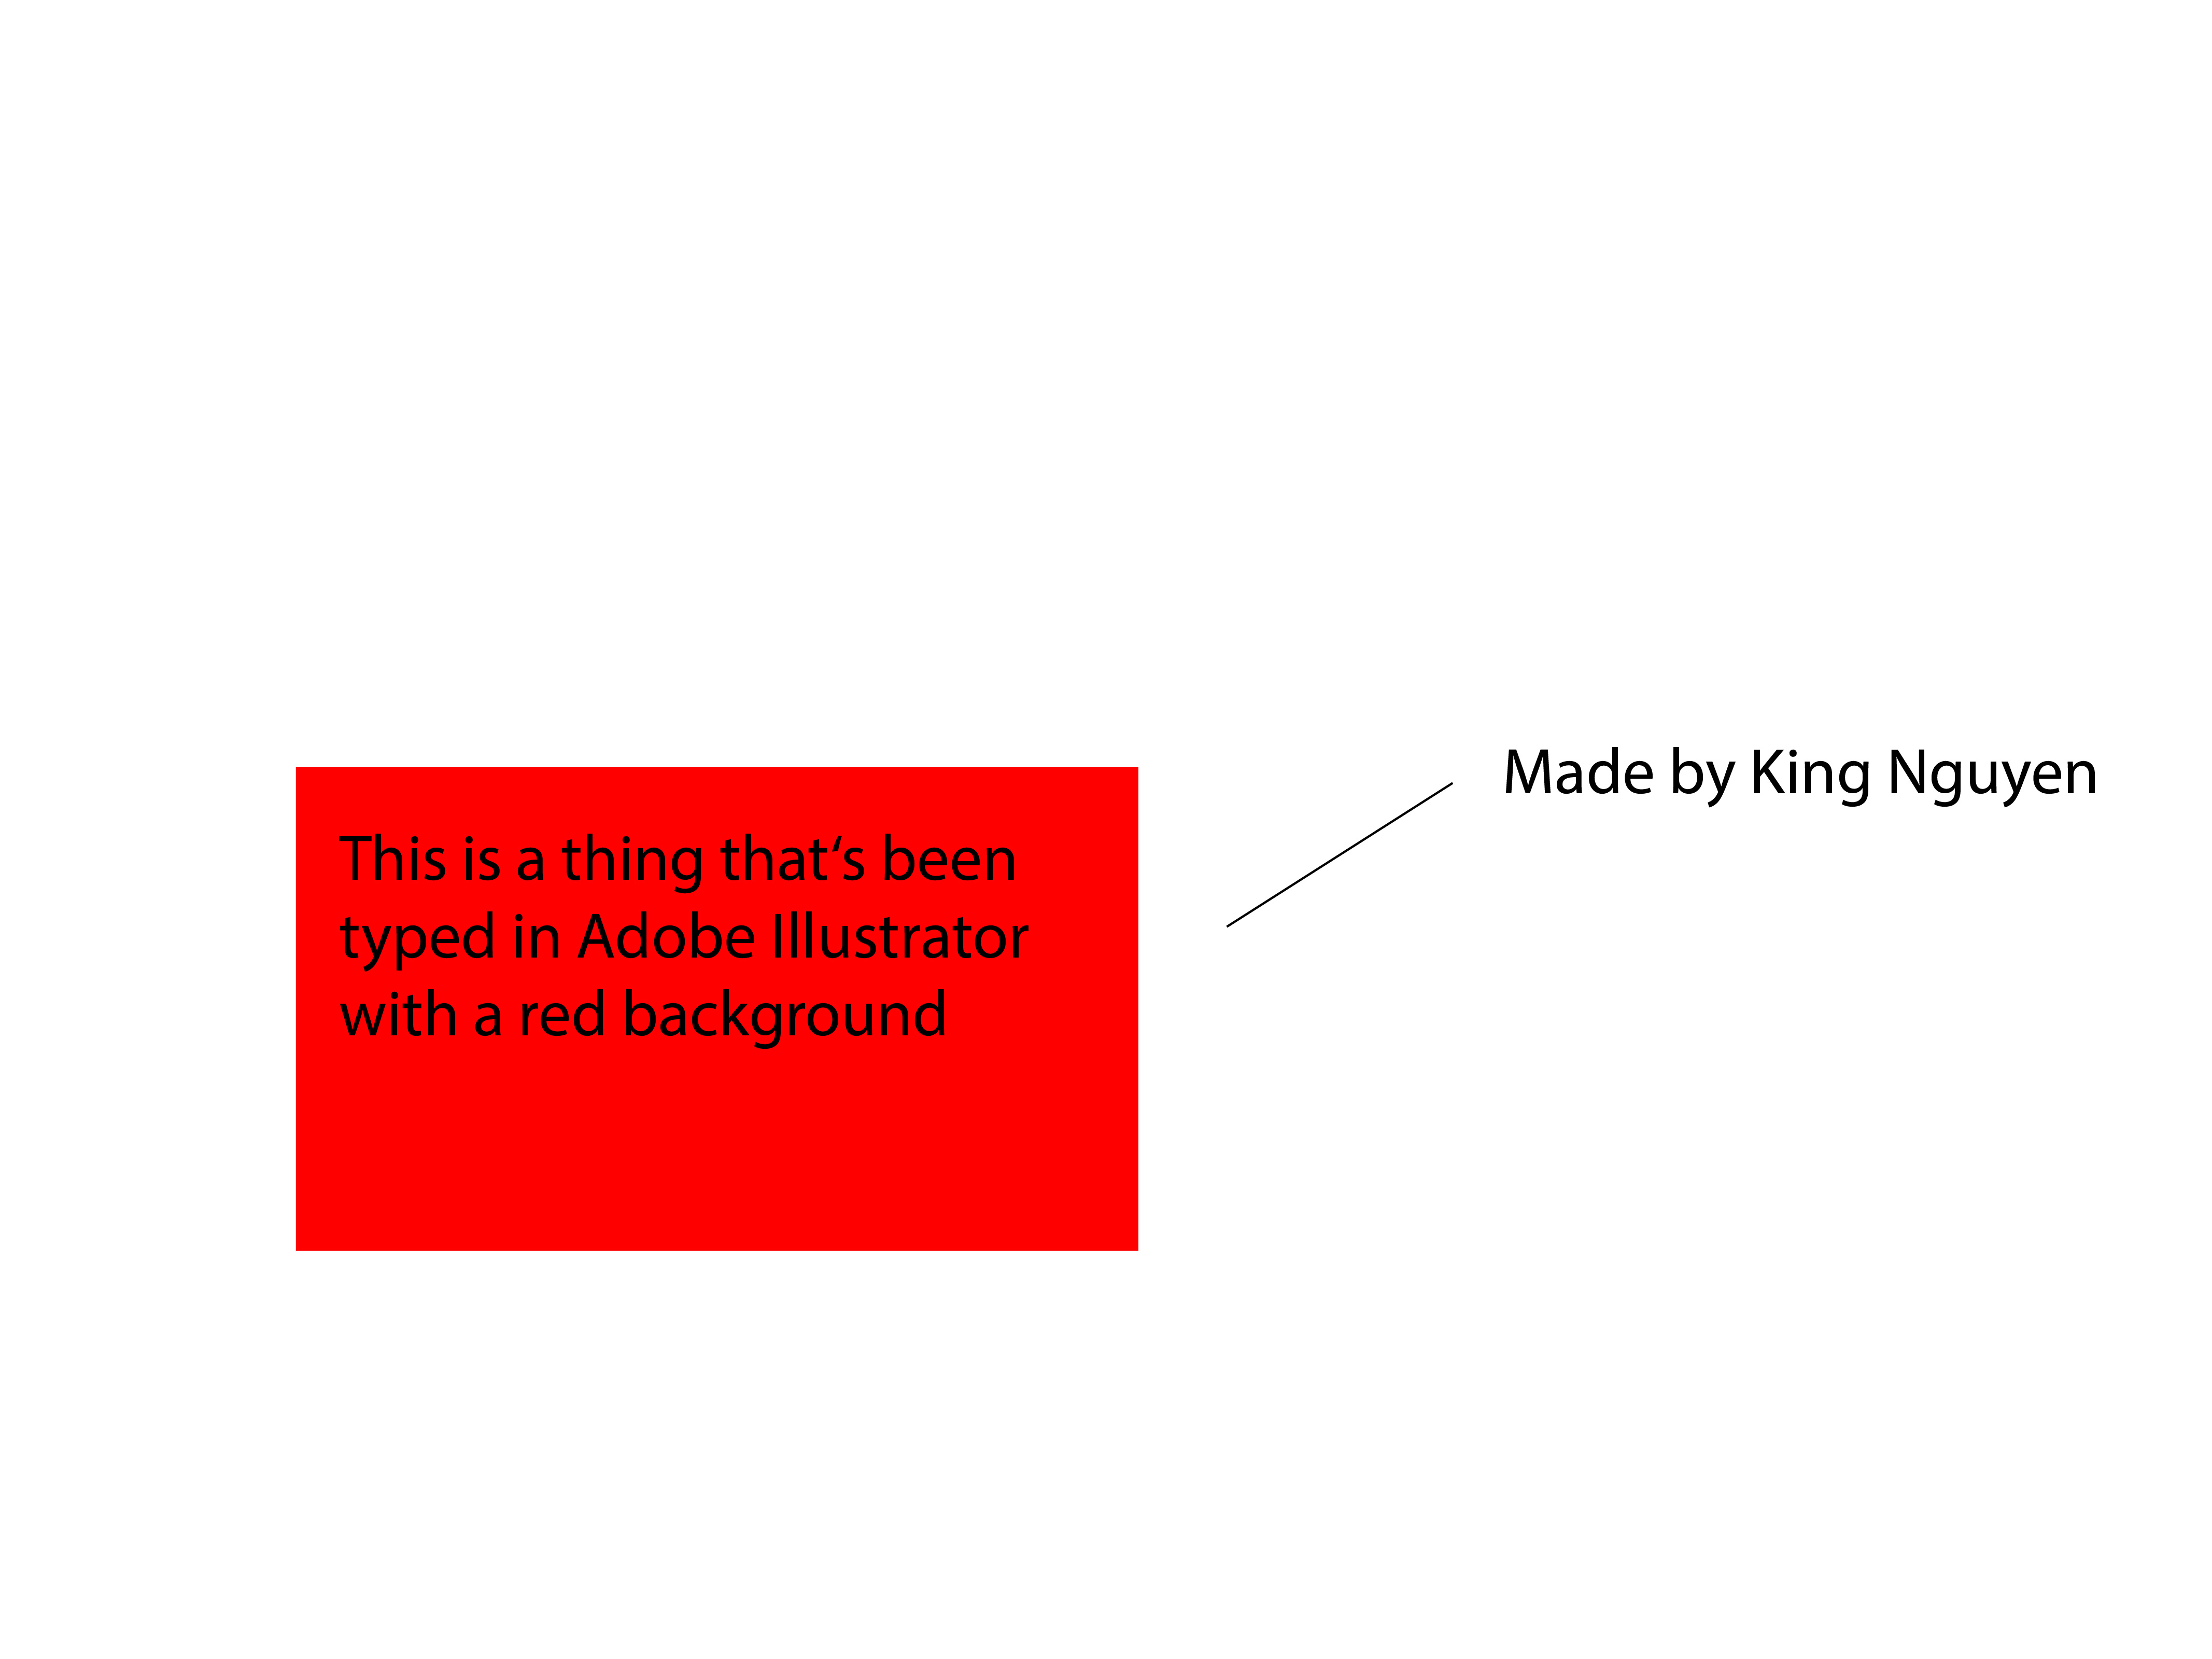
Kings
Kattleyas